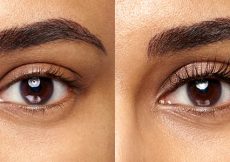
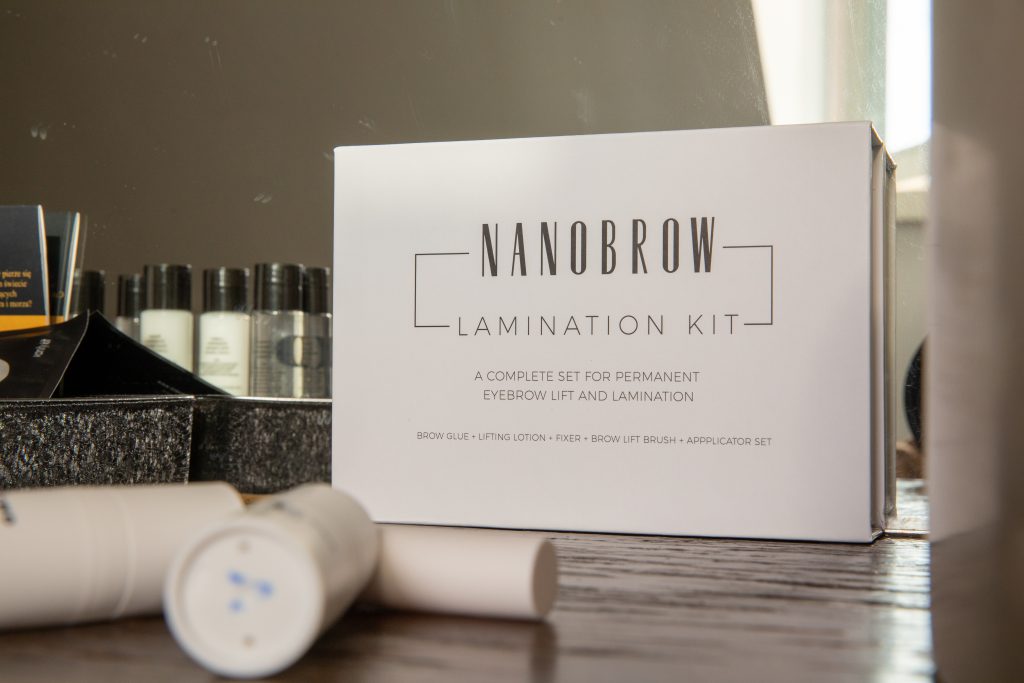
The whole wide world seems to be crazy about laminated brows! Are any of you fans of at-home eyebrow lamination too? The technique not only lifts the brows but also shapes them and gives them a fresh and youthful look resulting in so-called fluffy brows. On top of that, it deeply nourishes eyebrow hair and helps care for it. At-home eyebrow lamination will always upgrade your makeup. What to laminate brows with? I choose Nanobrow Lamination Kit. Let me tell you why this one and walk you through the procedure – brow lamination at home.
Eyebrow lamination – what’s the so-called brow lift?
Eyebrow lamination, or brow lift, is a beauty treatment – a non-invasive one. It’s not a true lift done with a scalpel. It’s about creating the brow-lifting effect. Brushed up, precisely shaped brows give the face a youthful look. The treatment used to be done exclusively at beauty salons which obviously meant high costs. Now, there are upgraded brow lamination kits that let us laminate eyebrows cheap, fast and easy at home. In-salon brow lamination costs a few times more than one brow lamination kit lasting for many uses. It pays off for sure, doesn’t it? Naturally, a good lamination kit is the secret to success. Nanobrow Lamination Kit is a brilliant example coming with easy-to-follow instructions, numbered solutions, and applicators for effortless use. You get a perfect kit – why don’t you spare 20 minutes for brow lamination at home?
How to laminate brows using Nanobrow Lamination Kit?
How did my first at-home brow lamination go? I prepared some clean cotton pads and a glass of warm water, plus the reviewed Nanobrow kit for brow lamination. You won’t need osmotic foil; the effect is great without it. I think it’s an extra benefit.
My DIY eyebrow lamination using Nanobrow Lamination Kit step by step:
- The brows must be clean and free of oil so remove all makeup products.
- Open the bottle with the glue. It has an applicator so you can dab it on the brows easily. I applied just a small bit making sure it’s not too much. I reached for another bottle after around 25 seconds.
- Next I took the Step 1 bottle, squeezed a small amount and applied it using the spoolie. At this point you need to make sure you brush the hairs into desired shape. After 5 minutes, I wiped the solution off.
- The last step is the third product: bottle Step 2. I applied a small amount on the hairs and kept brushing through brows lightly. After 5 minutes, I soaked a cotton pad in warm water and wiped the solution off. Obviously when wiping it off I also made sure I respected the shape I brushed brows into.
That’s done. Uncomplicated, right?
How long does the effect of brow lamination last?
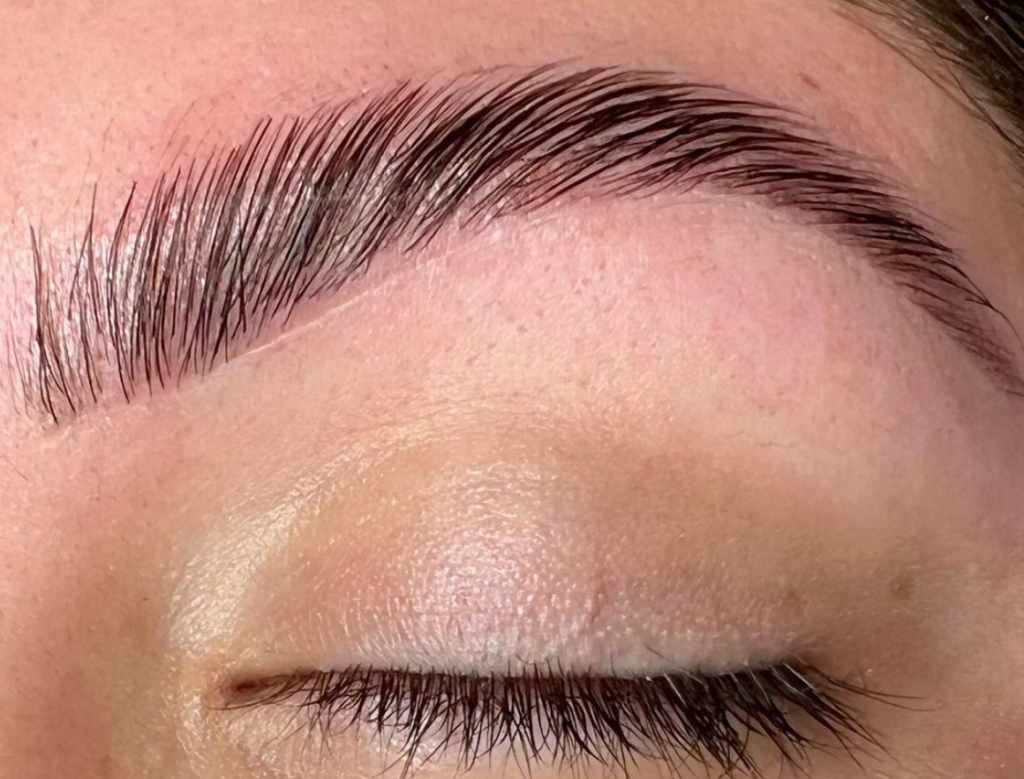
It lasted quite long on my brows. I really loved the result! I enjoyed the effects after brow lamination for around 8 weeks. Over the weeks, I got used to the fact that my brows looked terrific all the time. I love Nanobrow Lamination Kit for the size and cost-effectiveness too: the bottles last for many uses. I think I won’t use them up in a year! Or maybe I will…
Where to buy eyebrow lamination kit Nanobrow?
I guess you’ll buy this at-home brow lamination kit at Boots or Douglas, but it’s also available at the Nanobrow official site www.nanobrow.co.uk, and at many drugstores and marketplace websites. I suggest not waiting any longer but shopping! <3 I hope you’ll get some cool special offers and love the at-home eyebrow lamination results!