Lash extensions are well-known to me. I’ve been doing this treatment on my eyelashes for many years and… I was surprised at how bad a condition my natural lashes were in after removing the false lashes. I had to look for a way to save them, and Nanolash Lash Lash Lift Kit turned out to be the one. Check out how I rebuilt my lashes without overburdening them!
Why did I need a DIY lash lift?
Lash lift and lash lamination is a treatment I’ve been interested in for a long time. It was my chance to rebuild my eyelashes. However, until now, I have only seen videos from professional beauty salons where the treatment was performed. I had also seen the results right after it which were even better.
I wanted to try it myself, although the price was frighteningly high. Considering I would have to repeat the treatment in a few weeks, I was not happy about spending that much, so I started looking for other equally effective solutions online.
I found Nanolash Lash Lift Kit. Although at first, I approached it with reservations, I decided to try it out. I was anxious to test the durability and effectiveness of the treatment carried out at home. I also saw a chance to rebuild my lashes in this lift and lamination kit.
A few words about the lash lift kit from Nanolash
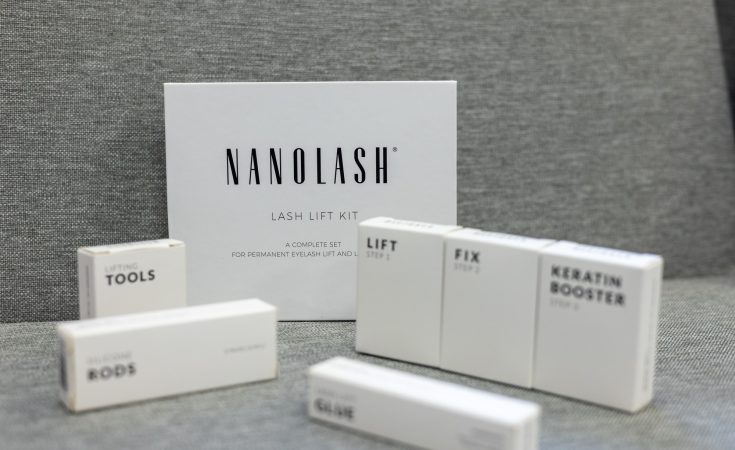
The lash lamination and lift kit comes from a well-established and renowned beauty brand – Nanolash. It has become famous because of its products and accessories for lash care and styling. I had extremely high expectations from the Nanolash Lash Lift Kit.
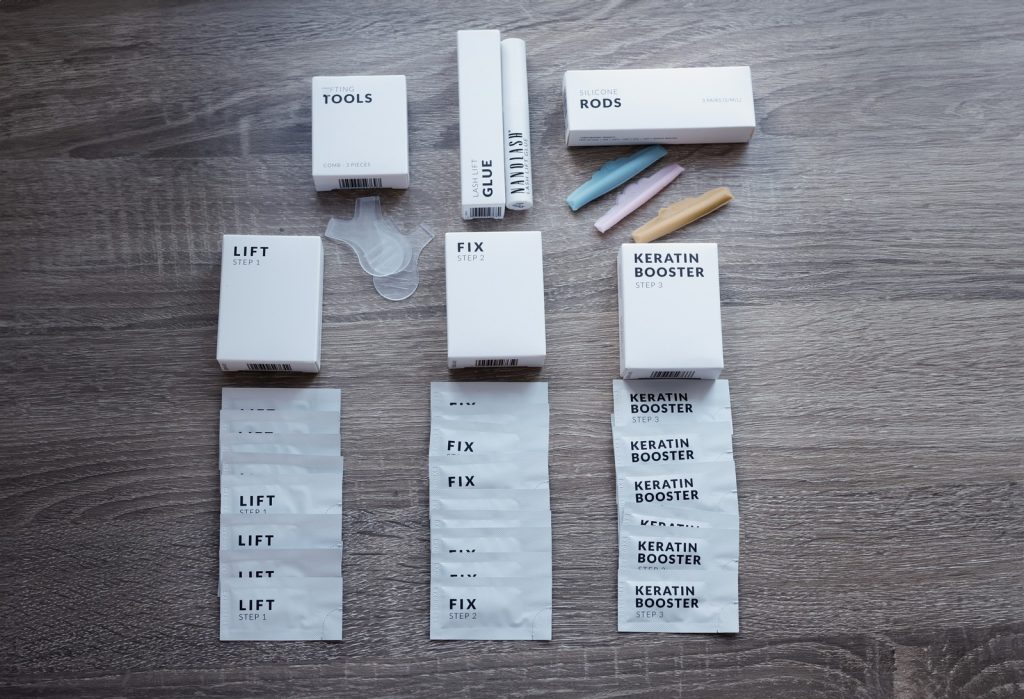
Let’s start with the fact that the kit contained everything I needed to perform lash lamination at home. There were 3 products labeled as:
- Lift – Step 1;
- Fix – Step 2;
- Keratin Booster – Step 3.
These were complemented by 3 pairs of silicone rods in different sizes, Lash Lift Glue with a capacity of 5 milliliters, and other accessories necessary to do a lash lift at home.
In addition, you get 30 sachets of 0.5 milliliters each in the box, I’ll point out. This, in turn, makes it possible to perform as many as 10 DIY lash laminations without leaving home. Another important aspect for me is the ingredients contained in the products like:
- Abyssinian oil;
- coconut oil;
- grape seed oil.
Thanks to them, eyelash restoration becomes a reality I can’t deny. As for this moment, the Nanolash brand has gained a lot in my eyes.
Time for testing!
The Nanolash brand declares that the lash lift provides visible results for up to 8 weeks. Well, I had to find out for myself. I started by:
- removing makeup and product residue from my lashes;
- separating the top and bottom lashes;
- attaching the silicone rods – I chose the M size – as close to the lash line as possible.
Then I followed the instructions, viz:
- I applied the first product to the lashes and left it on for 10 minutes, then removed it with a dry applicator;
- I applied the second product for the same time and removed it with a wet applicator;
- then I applied a third formula, waited, and removed it.
Everything was done, so I could peel off the silicone rods. For comparison, I performed a lash lift on only one eye. After removing the rod, the difference was visible to the naked eye. The left side was stunning in length and curl, while the right side…well, better not to say. I also noticed that the lashes on the left eye were beautifully moisturized and nourished. The effects lasted for 8 weeks.
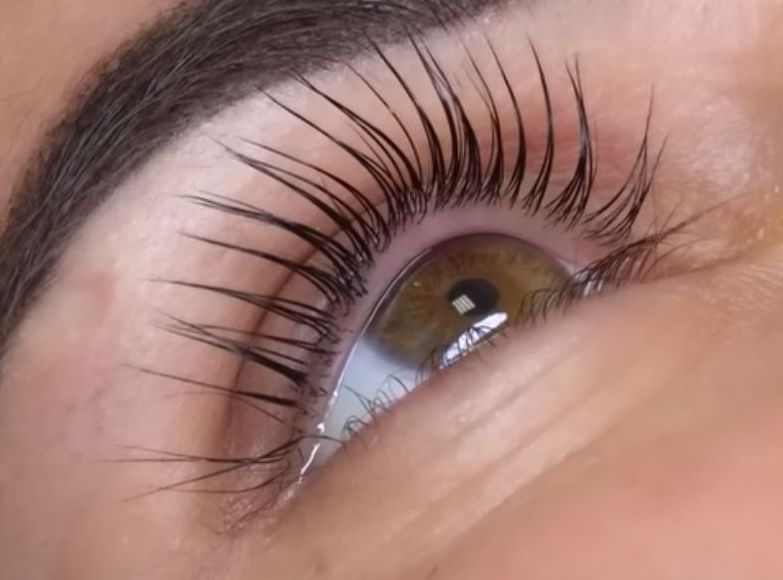
Girls! The lash lift and lamination kit from Nanolash surprised me positively. I’m not lying when I say that my lashes have never looked so good. Anyway, you can find out for yourself. Try Nanolash Lash Lift Kit and let me know what you think!