Hey there, today I’ve got a review of a new arrival! If you also want to rock long lashes with a curl, then keep reading! I’ve tested my first cluster lashes – DIY Lash Extensions from Nanolash! Wanna know what I think?
Let me introduce you to the DIY Lash Extensions!
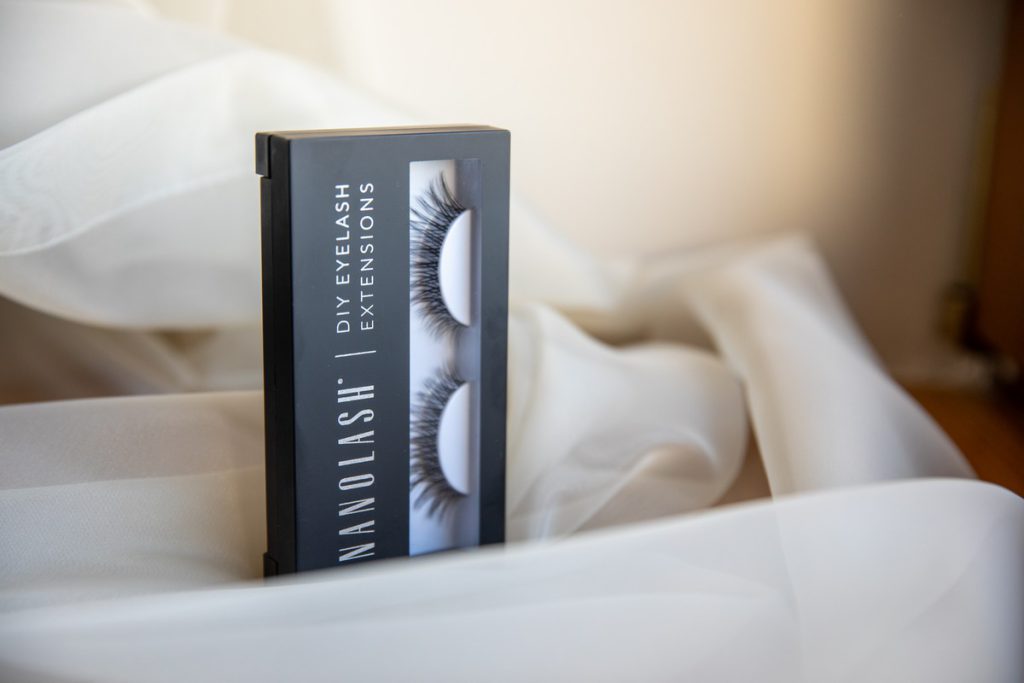
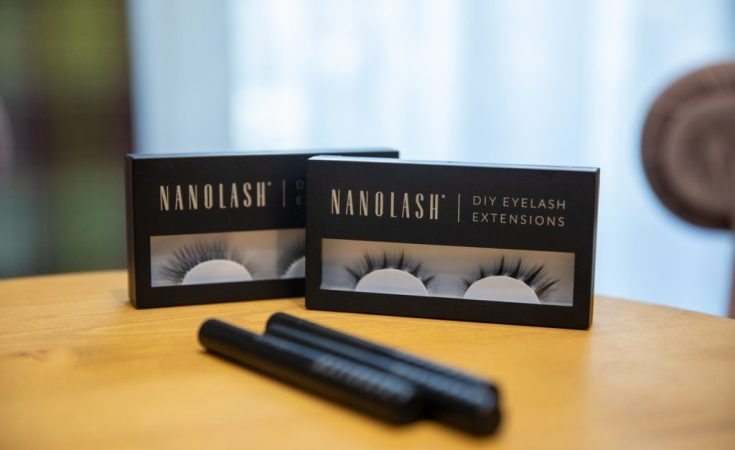
The Nanolash DIY Lash Extensions are brand new products for DIY volume lash extensions. As you know by now, I love testing new arrivals so I ordered my new cluster lashes right off.
We can apply these DIY lash extensions easily at home in just 10 minutes! Before I tell you exactly how to apply cluster lashes, let me share some product details.
You can pick from two versions of the product:
- single package of the DIY Lash Extensions: the box includes 36 lash clusters 10, 12 and 14 mm. There are as many as 8 styles to choose from.
- lash extensions set: I think this one is great too, especially for those of you who haven’t got their essential lash extension accessories yet.

The lash set consist of:
- Nanolash bonder – a special adhesive that enables application of lash clusters plus evens out the color of lashes. It gets the desired stickiness after 30 to 60 seconds.
- Nanolash sealer – another essential product which lets you remove the sticky coat after the application.
- lash tweezers – made from stainless steel, super ergonomic.
- Nanolash remover – it allows us to take off the clusters and remove the glue residue.
Because I already had my lash extensions accessories, I only bought the 36 lash clusters.
When unboxing, I was so happy to see the Nanolash clusters were delicate, felt light and soft, plus really mimicked real lashes! They are top quality, I’m sure of it.
Applying cluster lashes – how long did it take me to put on the DIY Eyelash Extensions?
The manufacturer promises that DIY lash extension with the lash clusters by Nanolash will take only 10 minutes. I figured that needed testing…
The DIY Eyelash Extensions come with detailed instructions that tell us to:
- apply a coat of the bonder and wait until it gets sticky enough.
- grab a cluster and place it around one millimeter from the lash line.
- dab the sealer to get rid of the sticky coat.

I followed the steps according to instructions. Result? Spectacular. Application time? 08:48. Great, isn’t it?
Cluster lashes lasting for 5 days? Let’s check if that’s true!
Another thing the manufacturer promises is the DIY cluster lashes staying on for 5 days. I had to see if it was true.
I put on my lash wisps. I took care of them, clearing them of dust, sleeping on my back, not using harsh makeup removers. Though five days passed, my cluster lashes still looked good. I figured why not leave them longer and carry on with the proper after-care? All in all, I took them off after… 8 days!
To be honest, I think I could leave them on even longer and it was thanks to the proper lash extension aftercare.
The reason why I took them off was to see whether I could reuse them (the brand says the DIY Lash Extensions are disposable).
I used the lash extensions remover and removed the glue from the band. The lash clusters had the same shape! I think they’re still good for use and I’ll surely reuse them.
The cluster lashes DIY Eyelash Extensions from Nanolash – rating
What’s the final score? I heartily recommend the Nanolash DIY Eyelash Extensions! These premade DIY cluster lashes are definitely a good choice.
Lightweight, soft lash extensions that look exactly like natural lashes – let me hail them as luxury cluster lashes! They’re easy to apply and long-lasting.
They come in an economical box. If you want more, you can get a full DIY lash extension kit from Nanolash. The DIY Eyelash Extensions deserve the highest 10/10 score!


